Posted on

How to Set your Internal Halyard Length

CDI-MR2-Parts

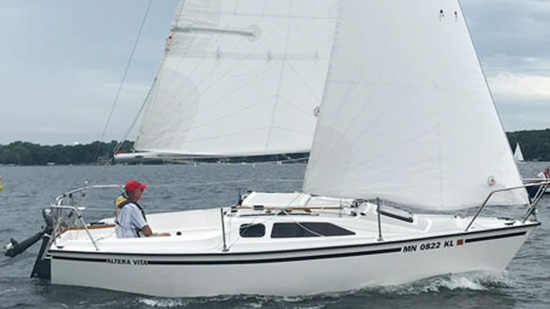
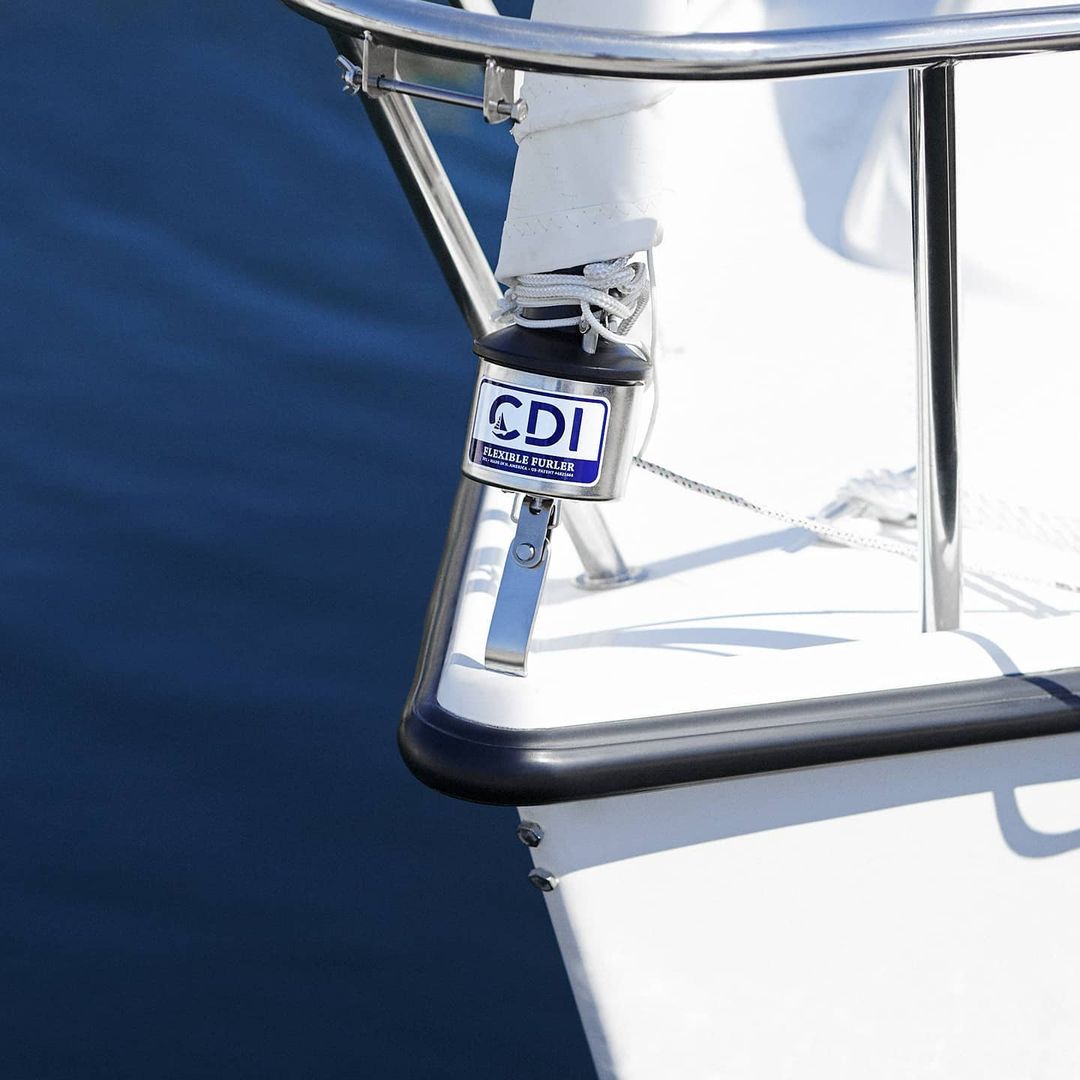
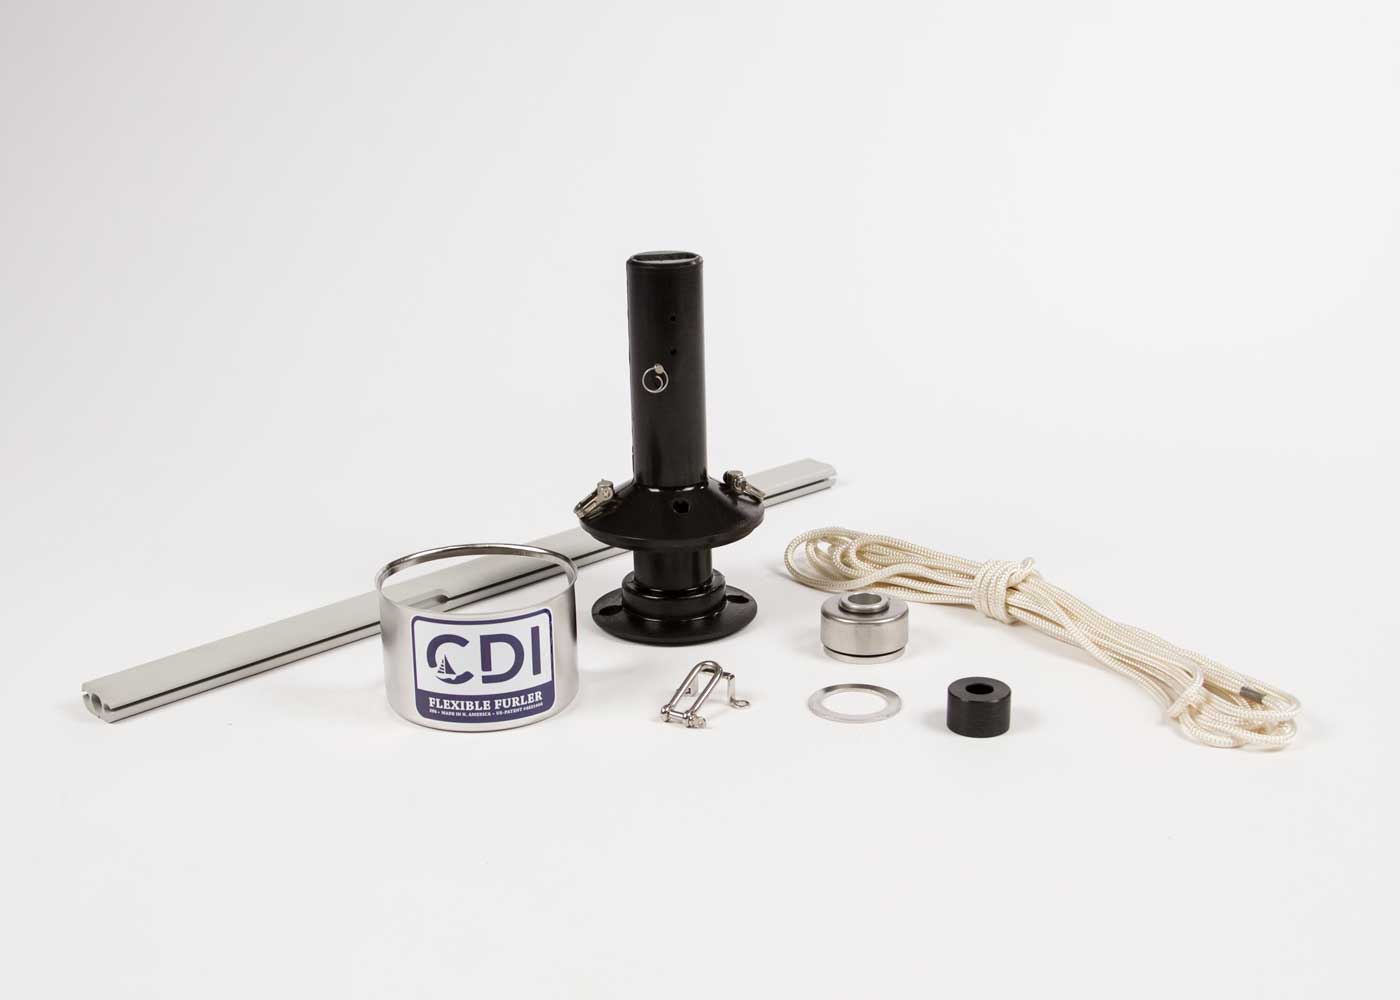
One of the main advantages of the CDI Flexible Furler is the internal halyard, From giving you flexibility to add a genoa sleeve or other accessory to be run off your rigs existing halyard, to eliminating the possibility of halyard wrap on your headsail having an internal halyard is a huge advantage.

When your Flexible Furler arrives, the halyard will likely arrive too long.
Do not cut the halyard until the Flexible Furler installation is complete.

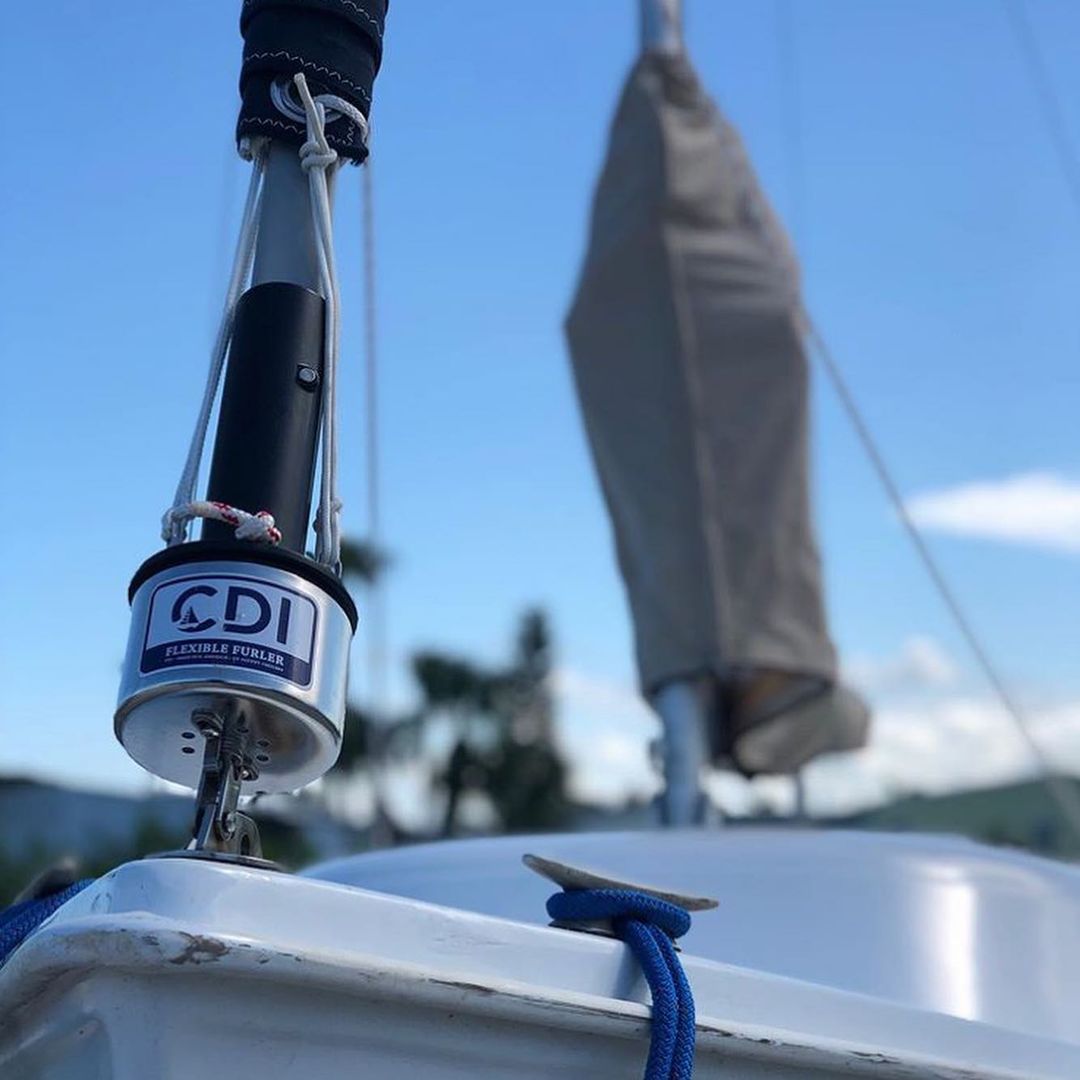
After you have your new Flexible Furler installed on your boat, and you are ready to hoist your sail, now is the time to determine the correct length for your halyard.

Using the safety line attached to the sail end of your halyard, pull the halyard end down. Make sure to attach a safety line to the opposite side so that the ferrule end of the halyard can be pulled back to the bottom once the sail is secured.
Some trial and error will be required to get the length just right.
Tie the head of your sail to the halyard, start by estimating how much length you may want to remove from the halyard and secure the head of the sail at that point. Do not cut yet. Hoist the sail, and note how far the head is from the top. Lower the sail, and retie the head to take up that gap.

Repeat this process until the sail sits at the correct position on your forestay. Finish by lowering the sail, cutting the excess off of the halyard line, and melting the end of the line to prevent fraying.


Make sure to contact us if you have any questions! We are always happy to help!
Posted on

Trailering your boat with a CDI Flexible Furler Installed

CDI-FurlerForYourBoat

Your new CDI Flexible Furler is a fantastic choice if you find yourself trailering your boat. There are a few things to keep in mind when you do put your boat on a trailer with a CDI Flexible Furler installed.

The first thing you should note is that your forestay, including your assembled CDI Flexible Furler, is longer than your mast. When trailering with your mast lowered, this means that your drum is likely hanging over the end of the mast.
This can cause your luff extrusion to bend, over time this bend will become permanent and you will have to purchase a new luff extrusion.

In order to prevent this you can either strap a board to the bottom end of the mast so it sticks out long enough for the drum to sit on top of, or you can detach the forestay at the top of the mast and line the bottom of the drum up with the bottom of the mast. Since the top of the CDI Flexible Furler is much lighter than the bottom it is easier to support.

The second thing you must take care of is your luff extrusion. Take care to strap the luff extrusion flat to your mast so that it does not bend or twist. We recommend using more straps than may be necessary to be extra sure it does not move and shift.

Once you do get the boat to where it is stored, it is recommended to remove the foil from the mast and lay it down completely flat and out of the elements.

Posted on

Accessories and your new CDI Furler

Here at CDIFurlers.com we want to make sure you are equipped with everything you need to have an amazing time sailing.

With your new CDI Furler we have some fantastic accessories that can really enhance your experience. In this article we will discuss some of our top recommendations!

Deck Hardware Kit
Our deck hardware kits include all the hardware you need to install and run your furling line. Our kits include premium quality hardware from Viadana, such as stanchion mountable blocks, single blocks, stainless steel padeyes and our custom stanchion mountable cleat.
2 different kits are available, with different sized furling line depending on your furler model.
Our kits are put together so that they work with a wide variety of boat models, and are completely flexible so that you can set your boat up just how you want it.

Genoa Sleeve
The genoa sleeve is one of our top recommendations. With your new CDI furler, you will be running your headsail off of the internal halyard that comes with the system. This leaves the headsail halyard on your boat completely free. The genoa sleeve can be set up to run on this halyard, which means that you do not need to install sacrificial UV protection on your headsail! The biggest advantage of this is the huge weight savings on your sail, which gives you greatly increased sail performance.


Spinnaker Sock

A spinnaker sock is the perfect tool for managing your spinnaker. With the large size of most spinnakers, it can be a real chore to manage while sailing. The spinnaker sock takes care of this.
With a reinforced plastic ring at the bottom, the spinnaker sock can be lowered over an unruly spinnaker without snagging or getting caught. This will snuff your spinnaker and allow you to pull it in.


Spinnaker Tacker

The spinnaker tacker works to keep your spinnaker close to the centerline of your boat. It does this by sliding overtop of your furled headsail allowing you to adjust the tacker along your downhaul and tack line as you need.
The tacker will also allow you to fly your symmetrical spinnaker similar to an asymmetrical spinnaker, running without a spinnaker pole.


Lazy Cradle

The lazy cradle is a fantastic sail management and storage tool. This allows you to easily lower the halyard and allow the sail to flake between your lazy jacks. There is a high quality YKK zipper running up the length of the bag so it can be closed for long term storage, keeping your mainsail safe from the elements.

Posted on

Which Bearing option should I choose?

CDI Flexible Furler FF4 Installed on Boat

Which Bearing option should i choose?

For the CDI FF1, FF2, FF4, and FF6 you have the option of upgrading to Torlon Ball Bearings. There are many reasons you could want to go with the ball bearings, let’s explore those!

Smoother, easier furling

One of the main advantages of upgrading is that it provides a smoother and easier furling experience. The ball bearings roll smoothly and reduce friction, which means you’ll require less effort to furl your sail, making the process much more comfortable and efficient.

Less stress on your furler and rig

The upgrade to ball bearings means there’s less stress on your furler and rig. The bearings reduce the load and tension on the furling drum, making it easier for the furling line to move smoothly. As a result, the system experiences less wear and tear over time, which means it will last longer and require fewer repairs.

Much easier operation under load

The upgraded ball bearings make for much easier operation under load. When you’re under sail and require furling or reefing, the furling line experiences high tension, which can make it difficult to furl or unfurl your sail. With the ball bearings, the furling drum turns smoothly, and the furling line moves with less resistance, making it easier to furl or reef even under heavy loads.

We highly recommend that any client who finds themselves sailing in high wind situations upgrades to the ball bearings. If you find yourself in an emergency situation needing to reef or even fully pull in your sail, the ball bearings will help make that smooth and safe!

The CDI Ball Bearing is incredibly easy to clean and maintain. There is absolutely no lubricants required! We simply recommend rinsing the bearing with fresh water at the end of your sailing season.


Posted on

Measuring for a CDI Flexible Furler

CDI Flexible furler FF2 model

Measuring before purchasing your new CDI Flexible Furler.

To ensure you purchase the correct model to fit your boat/rig. There are three things we need to measure. First is the pin to pin length of your forestay. We have a helpful instructional video on how to get this measurement below!

The steps are quite simple.


The pin to pin length of your forestay

If your forestay is disconnected from the boat:
1) Lay the forestay out flat
2) Measure from the mast pin at the top of the forstay all the way down to the T-Bolt at the bottom of the turnbuckle*
3) Check your manual to make any deductions required for installation

*If you need to undo the turnbuckle to take the forestay off the rig we highly recommend marking the correct turnbuckle position with a sharpie for easy reinstallation.

If your forestay is connected to the boat:

1) Attach the end of your tape measure to your headsail halyard

2) Hoist the tape all the way up, until it stops on it’s own

3) Take the measurement from your tape. This will get us close to the correct forestay measurement
4) Now we must step back with the tape still hoisted, and look at the distance from the top of the tape, to the forestay pin. Take your best estimate, and add that measurement to the measurement we got from the hoisted tape measure. This is our forestay length.
5) Check your manual to make any deductions required for the installation of your furler.


The diameter of your forestay wire

To measure your forestay wire all you need to do is line calipers up with the thickest point of the wire on each side, and record the measurement from your caliper.


The diameter of the turnbuckle pin

To measure the diameter of your turnbuckle pin, simply use your calipers at the thickest part of the thread.


Posted on

Using a Genoa Sleeve with your CDI Furler

CDI-FlexibleFurler-FF2-installed-on-boat

When would I use a Genoa Sleeve with my CDI Furler?

Whether you have converted your hank on headsail to a furling headsail and want to save the weight addition of the UV, or you need a storage solution for your new race sails, we have a solution for you!
A huge advantage of your new CDI Flexible Furler is the internal halyard. Not only does this eliminate the possibility of halyard wrap, it also frees up your rig’s existing halyard for a genoa sleeve!

Benefits of Using a Genoa Sleeve with a CDI Flexible Furler

There are a few main benefits to using a genoa sleeve with your CDI Furler.

1) Increased Sail Performance

One huge advantage of using a genoa sleeve with your CDI Furler, is
that you can forgo the sacrificial UV protection on the sail. The great
thing about this is you save a ton of weight on the sail! This will
allow your sail designer to maximize the performance of the sail.

2) Sail Protection and Longevity
Keeping your sail completely protected from UV rays while not in use is going to greatly increase the lifespan of your sail!

The genoa sleeve will also keep the sail safe and protected while furled
and not sailing. Our genoa sleeves come equipped with a lashing system
that will protect it from being damaged or blown open in high wind
conditions.

In Summary

Using a Genoa sleeve with a CDI furler can make your sailing experience more comfortable, efficient, and enjoyable. The sleeve helps to protect the sail from the elements, reduce wear and tear, and maintain the sail’s performance long term by protecting the sail from damaging UV rays. Installing a Genoa sleeve is a simple process that can be done by anyone, and it is a perfect fit for your CDI furler! If you’re looking for a way to enhance your sailing experience, consider using a Genoa sleeve with a CDI furler.


Posted on

CDI FF9 Parts List

CDI Flexible Furler Parts Laid out on white background.

Welcome, looking for help or replacement parts?

Need Help Installing?

Looking For Replacment Parts For Your FF9?

Download the FF9 Manual

Manual Reference #DescriptionPart Number
1Halyard Top Fitting Assembly2059
1aSheave2069
1bPin2067
2Halyard Assembly, 5/32″ wire x 53′ w/ traveler, shackle and nicropress eye2063
3Luff ExtrusionLFF9
4Spool Assembly2064
5Cleat9000
6Luff Support Pin1865
7Anchor Pin1936
7aAnchor Shackle1935
7bTack Downhaul Block2066
8Tack Downhaul Line, 5/32″ x 12′
9Cup, stainless steel1805
10Ball BearingBB9
11Antirotation Strap2068

Showing 1–4 of 13 results

Showing 1–4 of 13 results

CDI logo with a blue background

Looking for something else?

CDI Furler installed on the bow of a boat. Sail is furled with UV protection coiled to protect the sail from the sun.